


Looking for better wildlife and nature photos? Here are five quick tips:
Capture the Context
While close-ups are great, don’t forget about showing an animal in its habitat.
For example, I love my first shot of a lion in the wild:
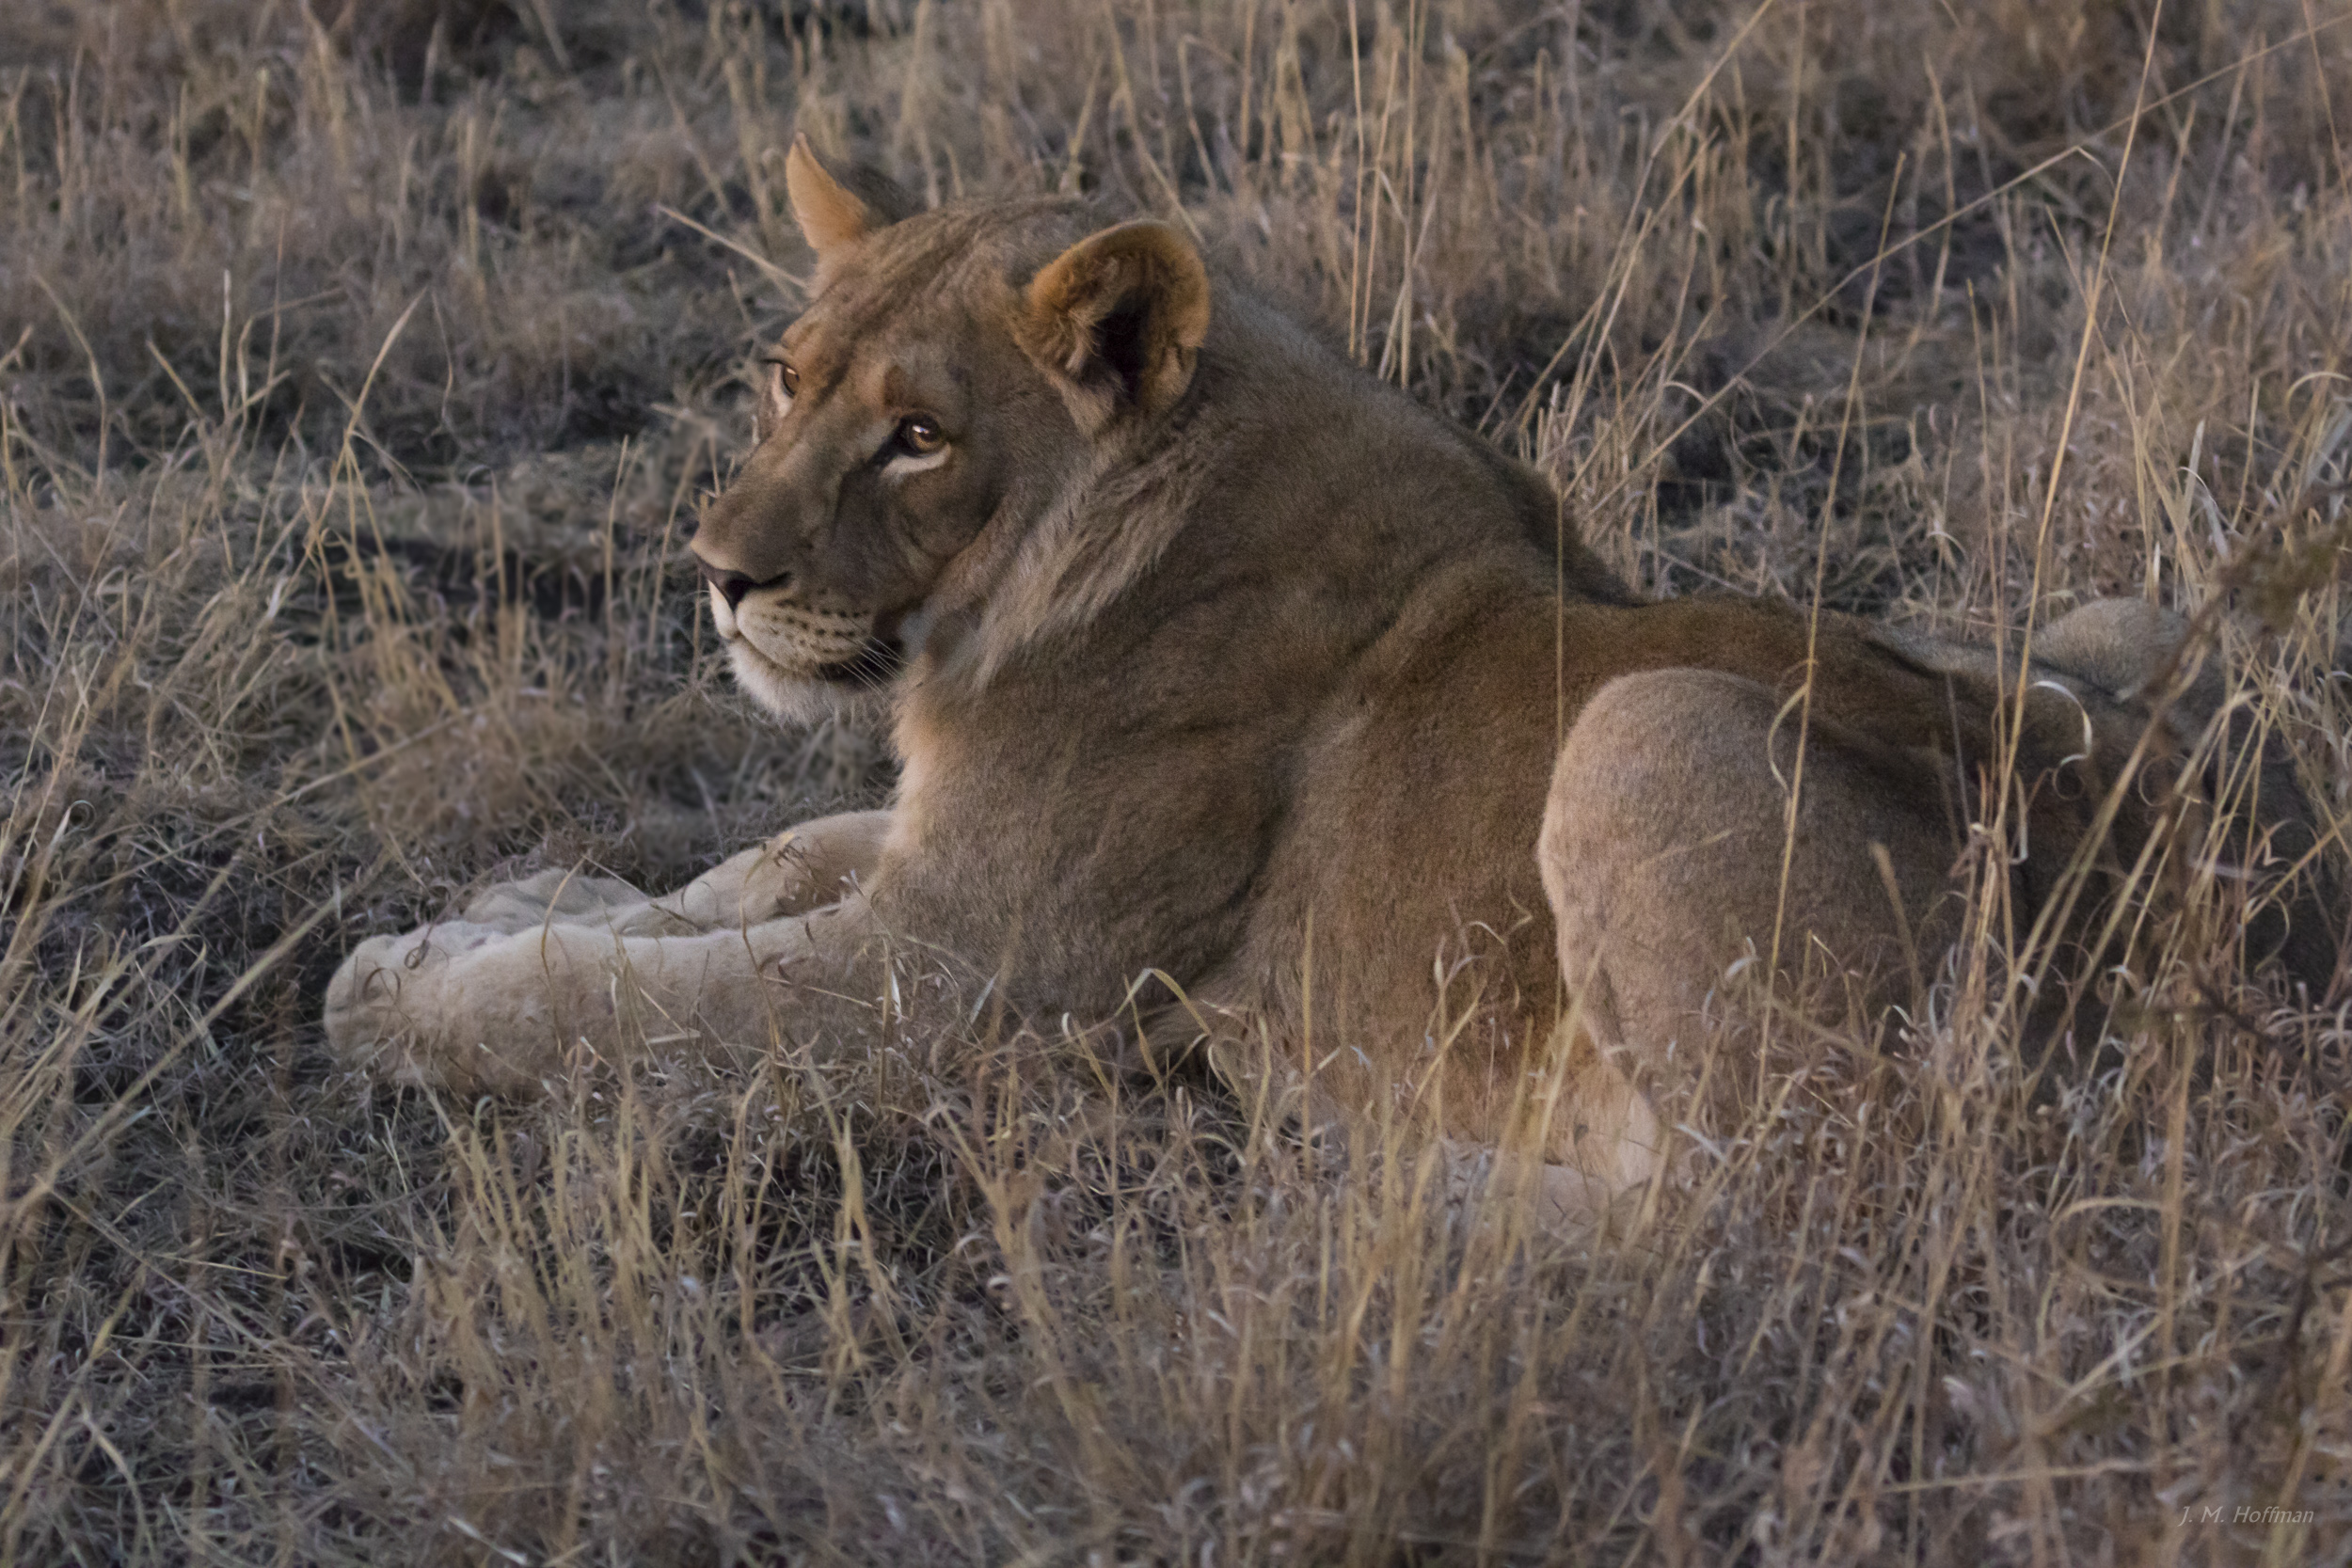
But to look it, you might think it was taken at a zoo. (It wasn’t.) The photo doesn’t tell the viewer anything.
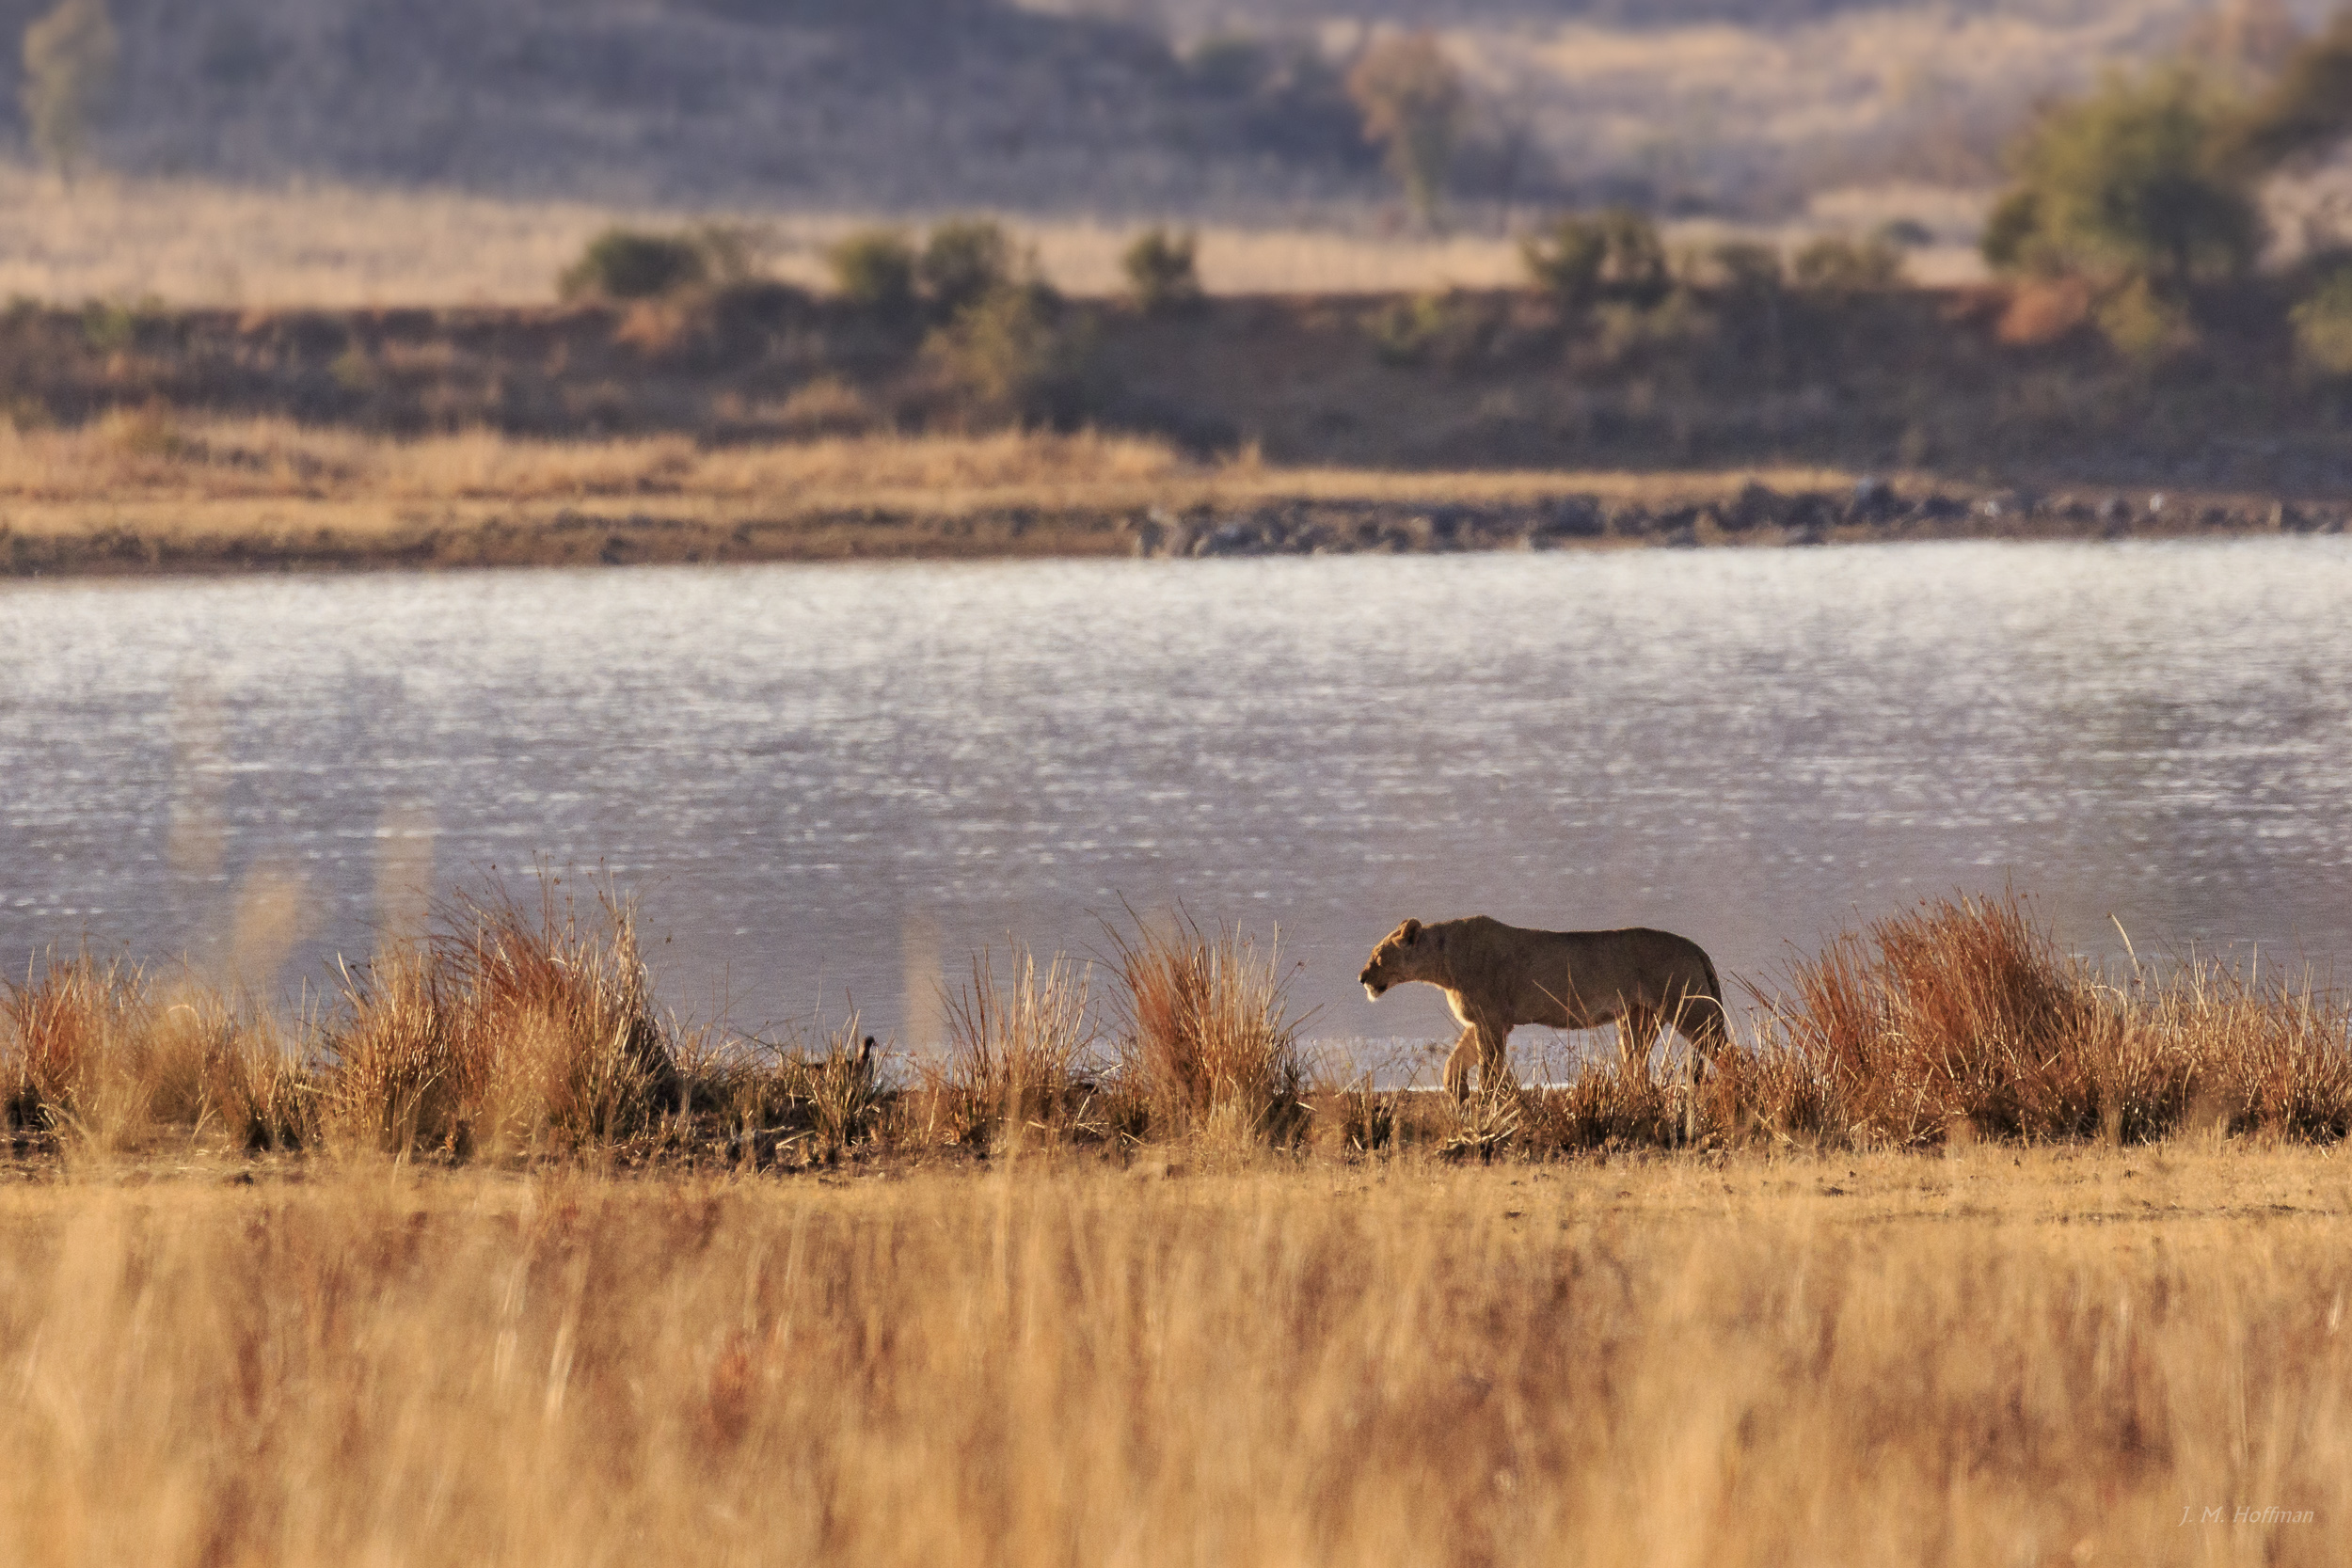
By contrast, this one leaves no doubt as to the context:
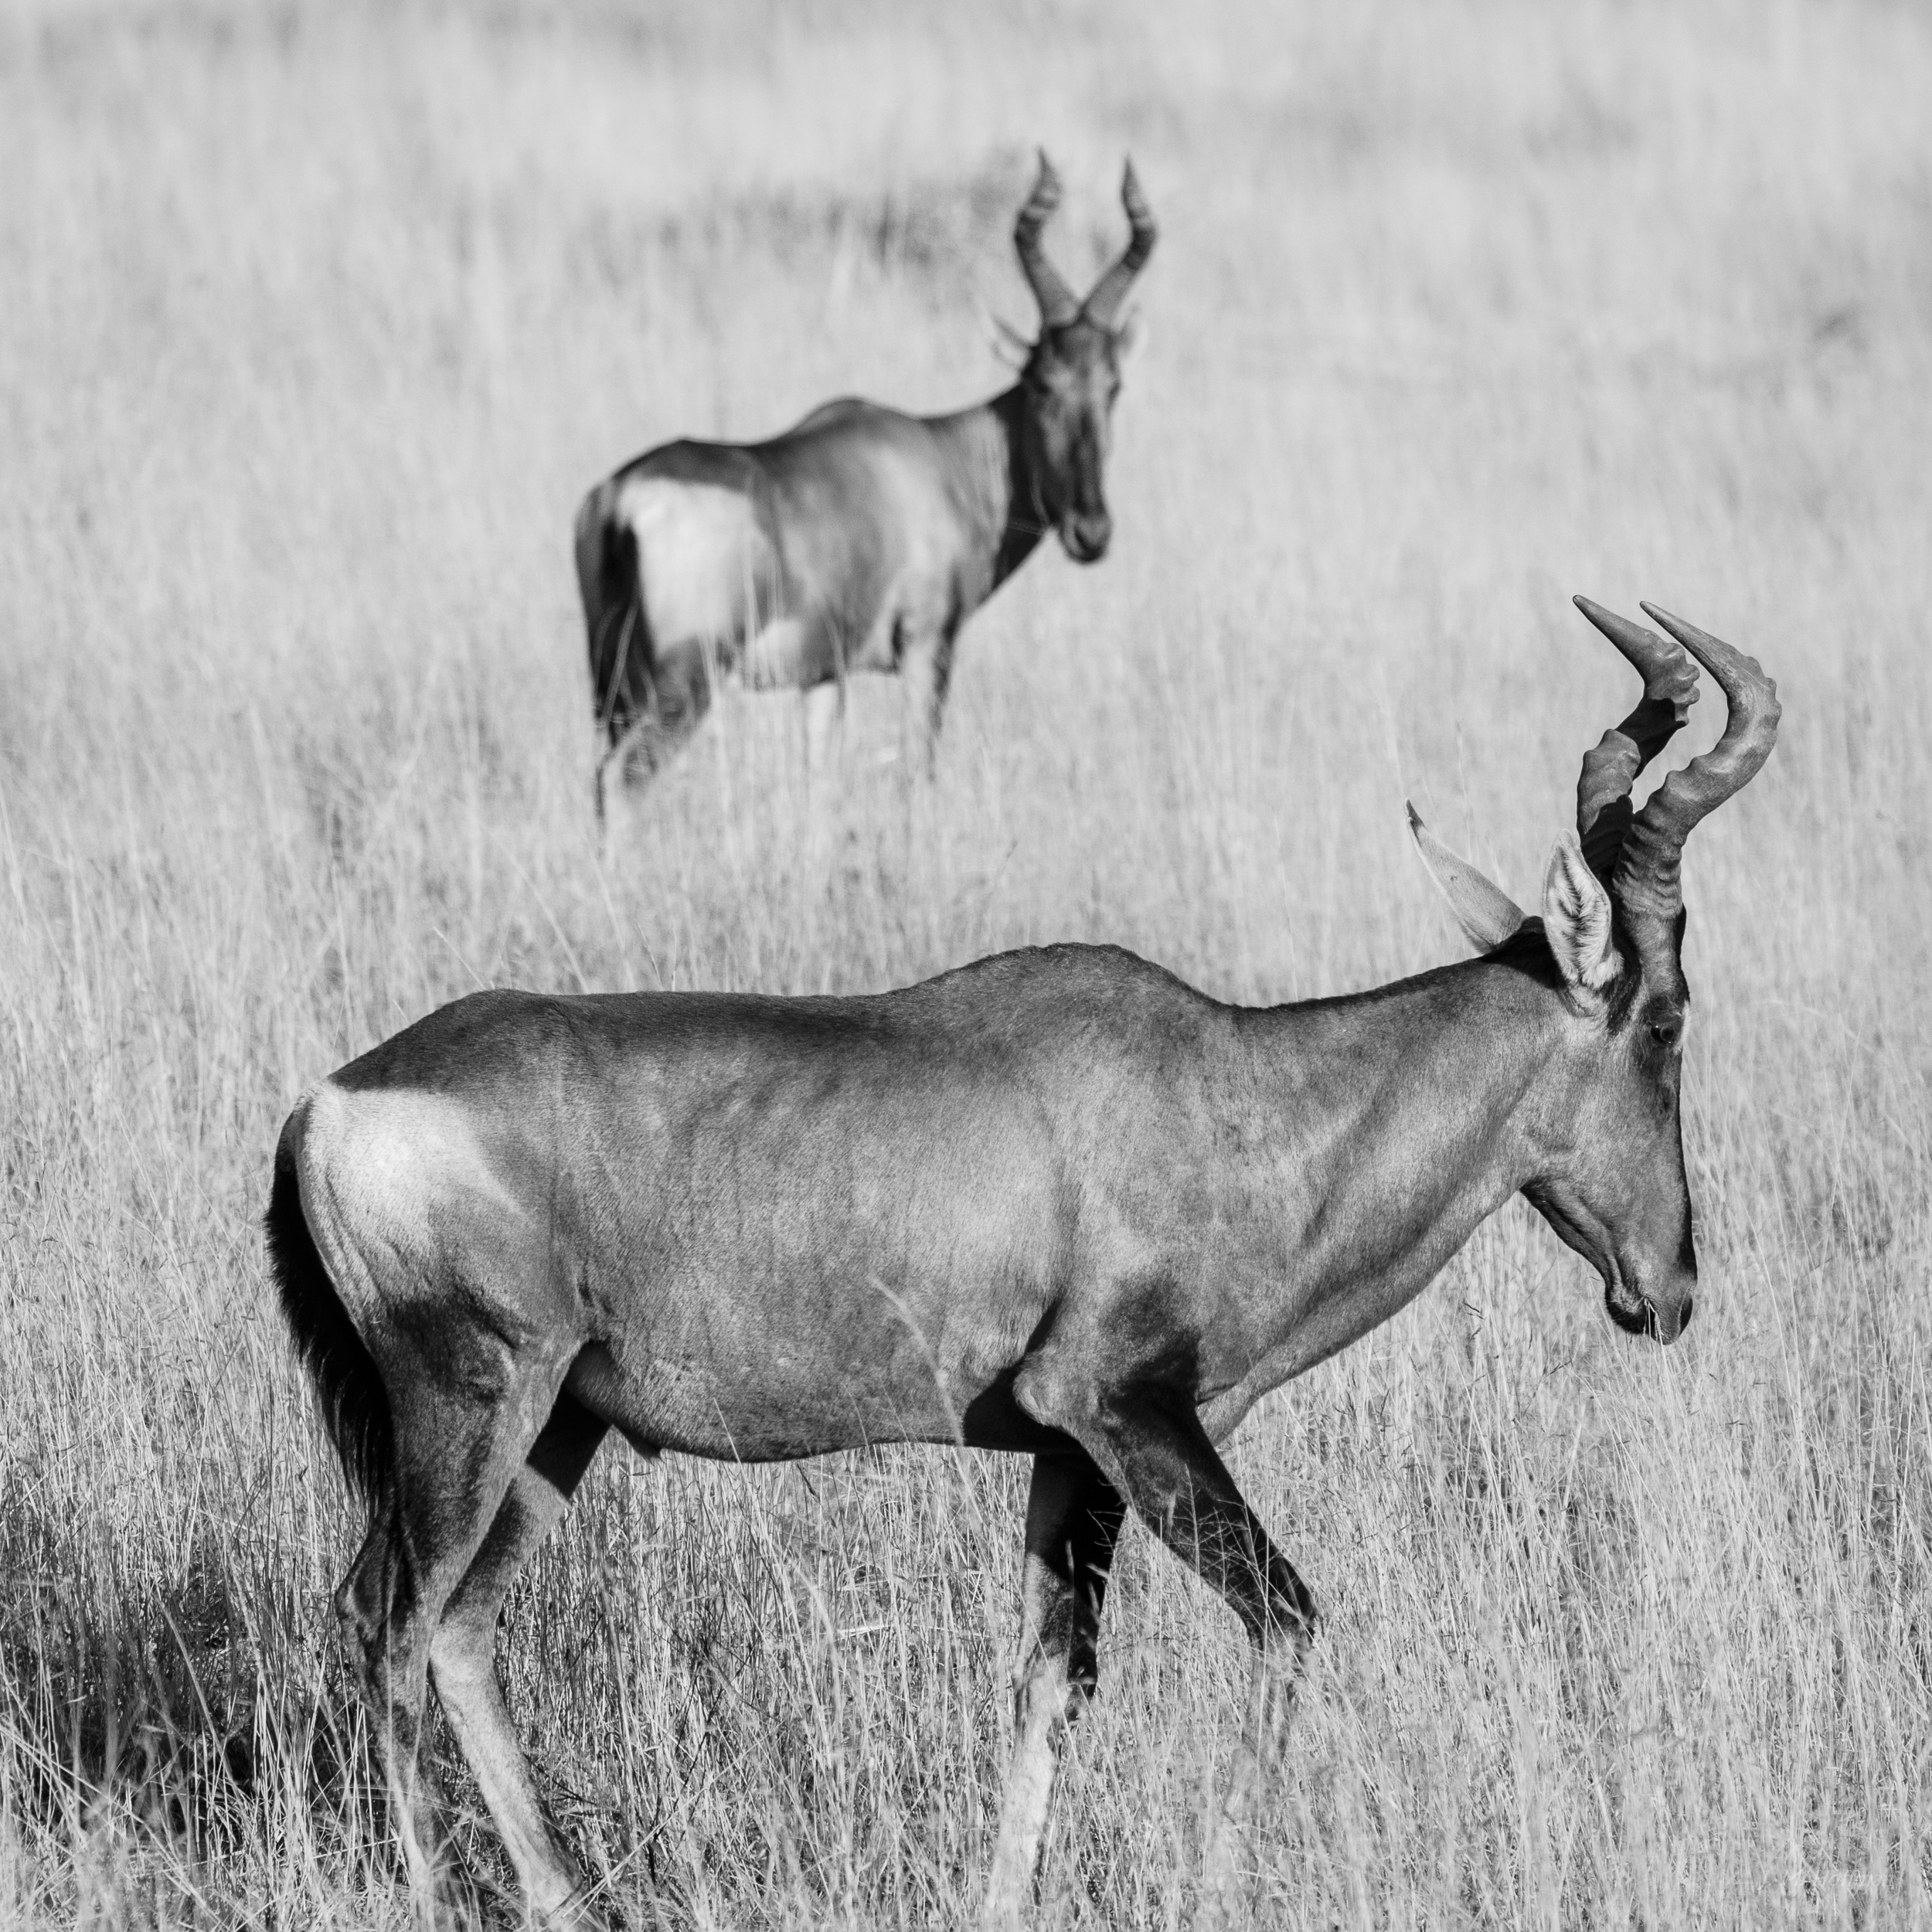
Similarly, I’m glad that I have both of these images, obviously of the same giraffe in the same place:

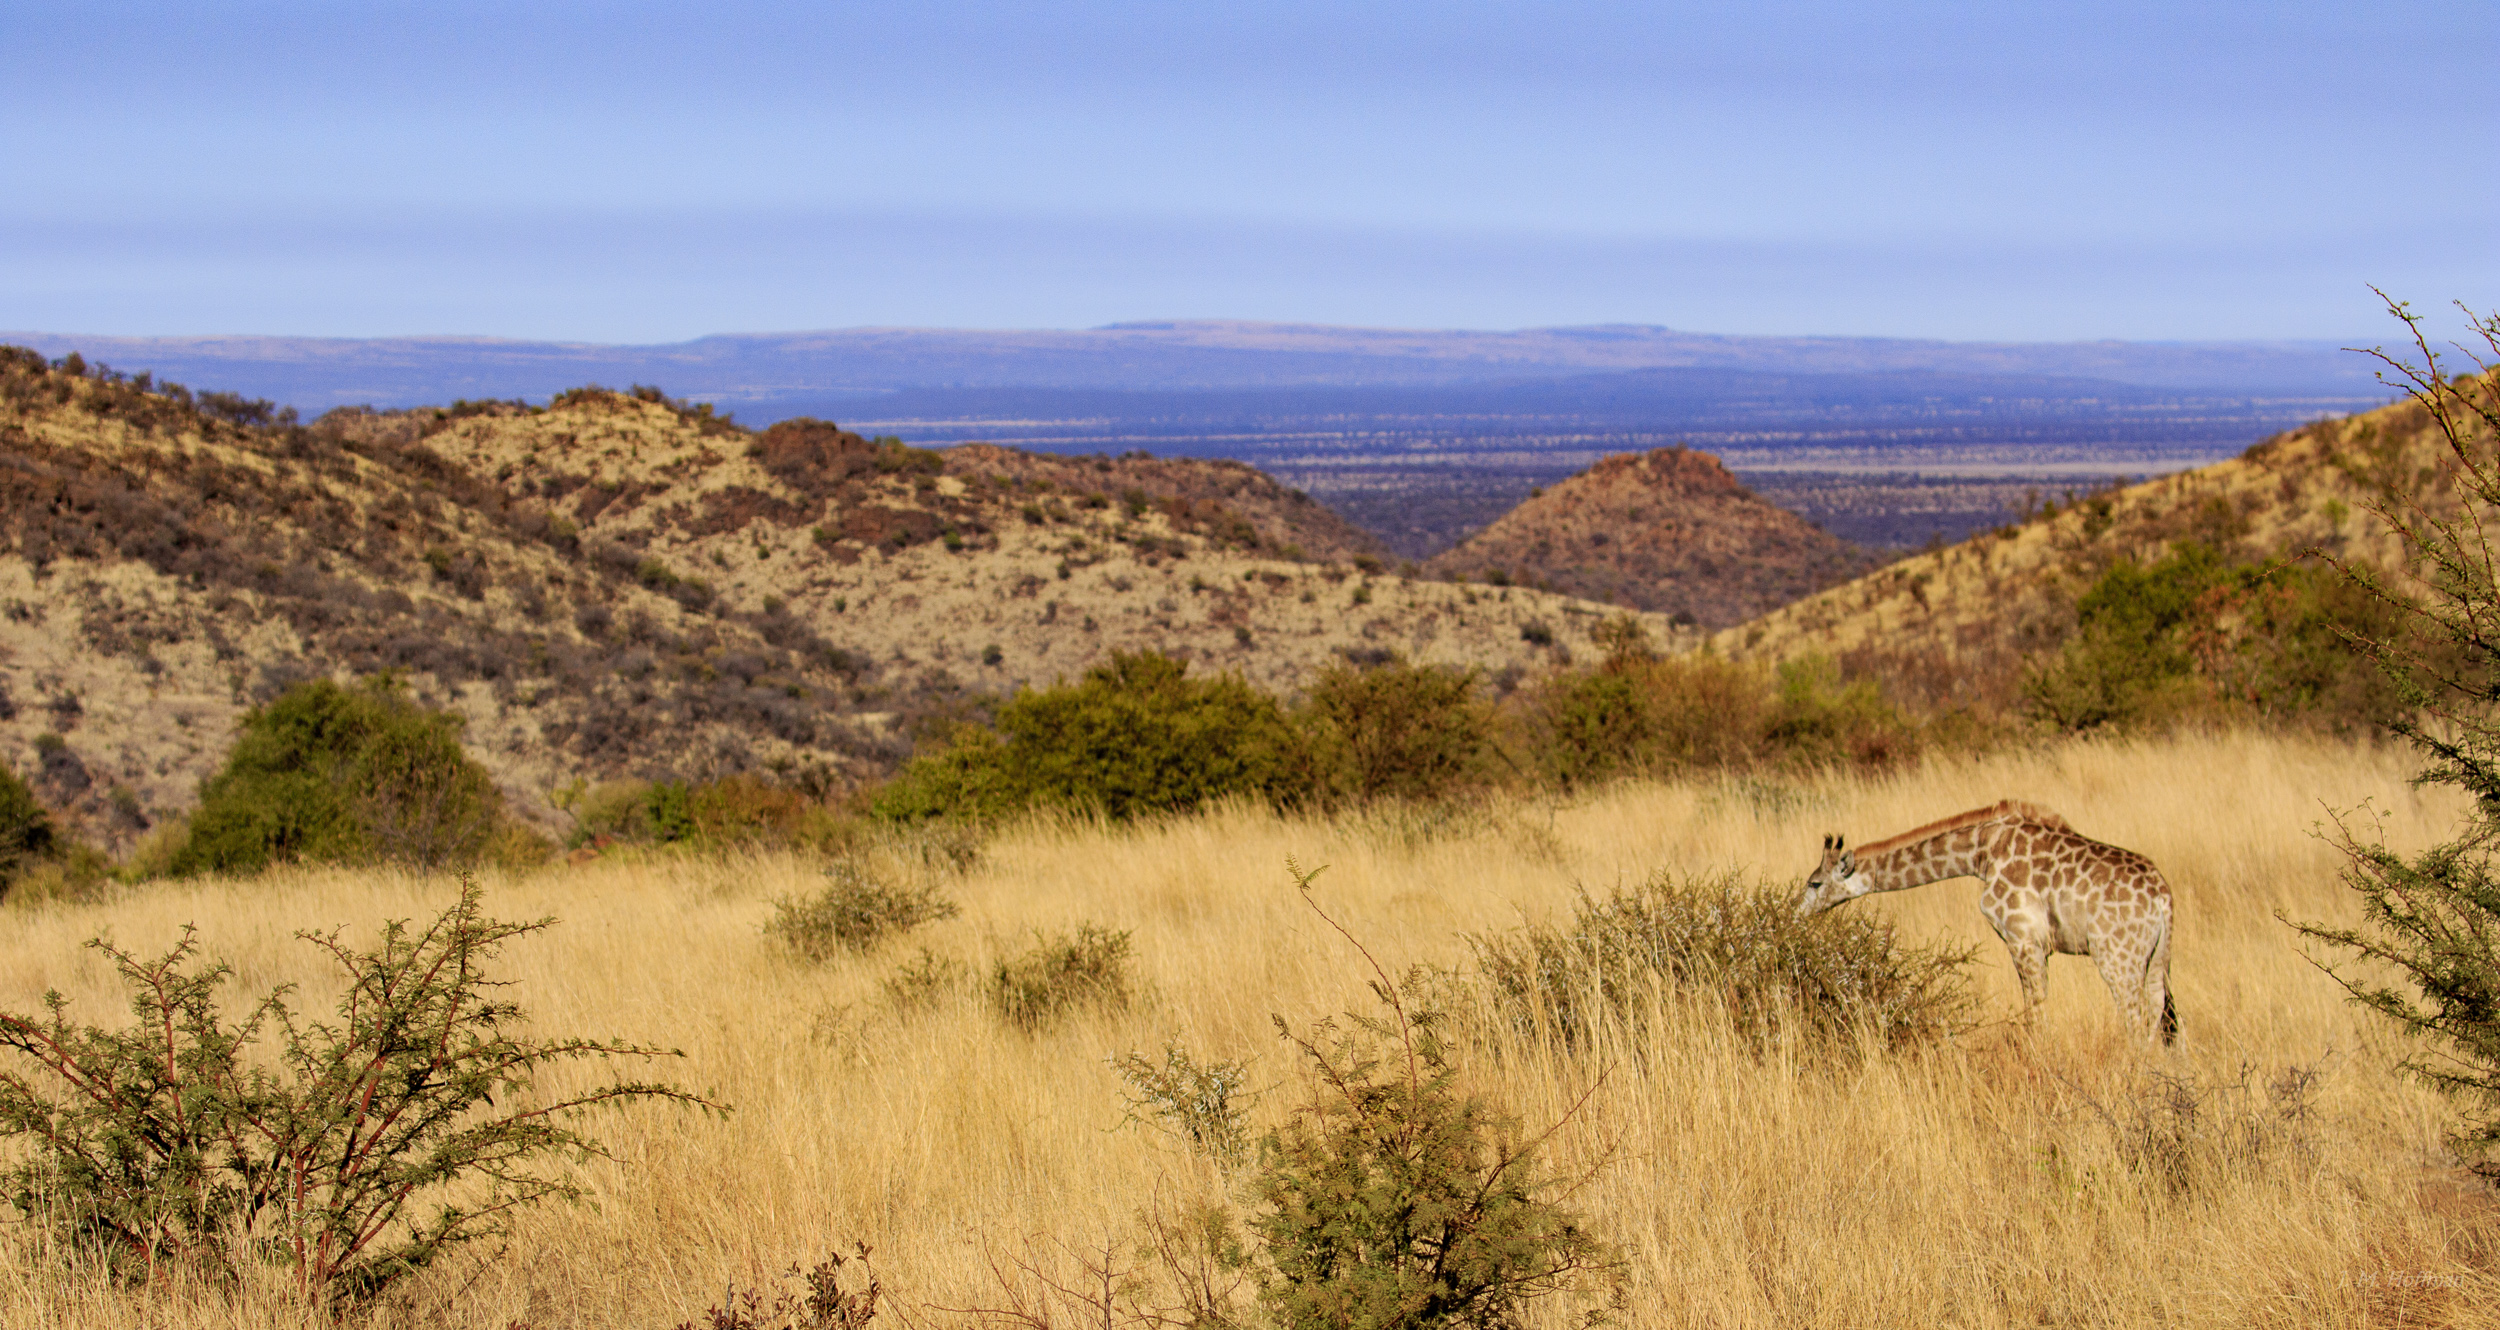
If you travel with a long lens, you’ll probably need a second camera to capture these wider shots.
Consider the Background
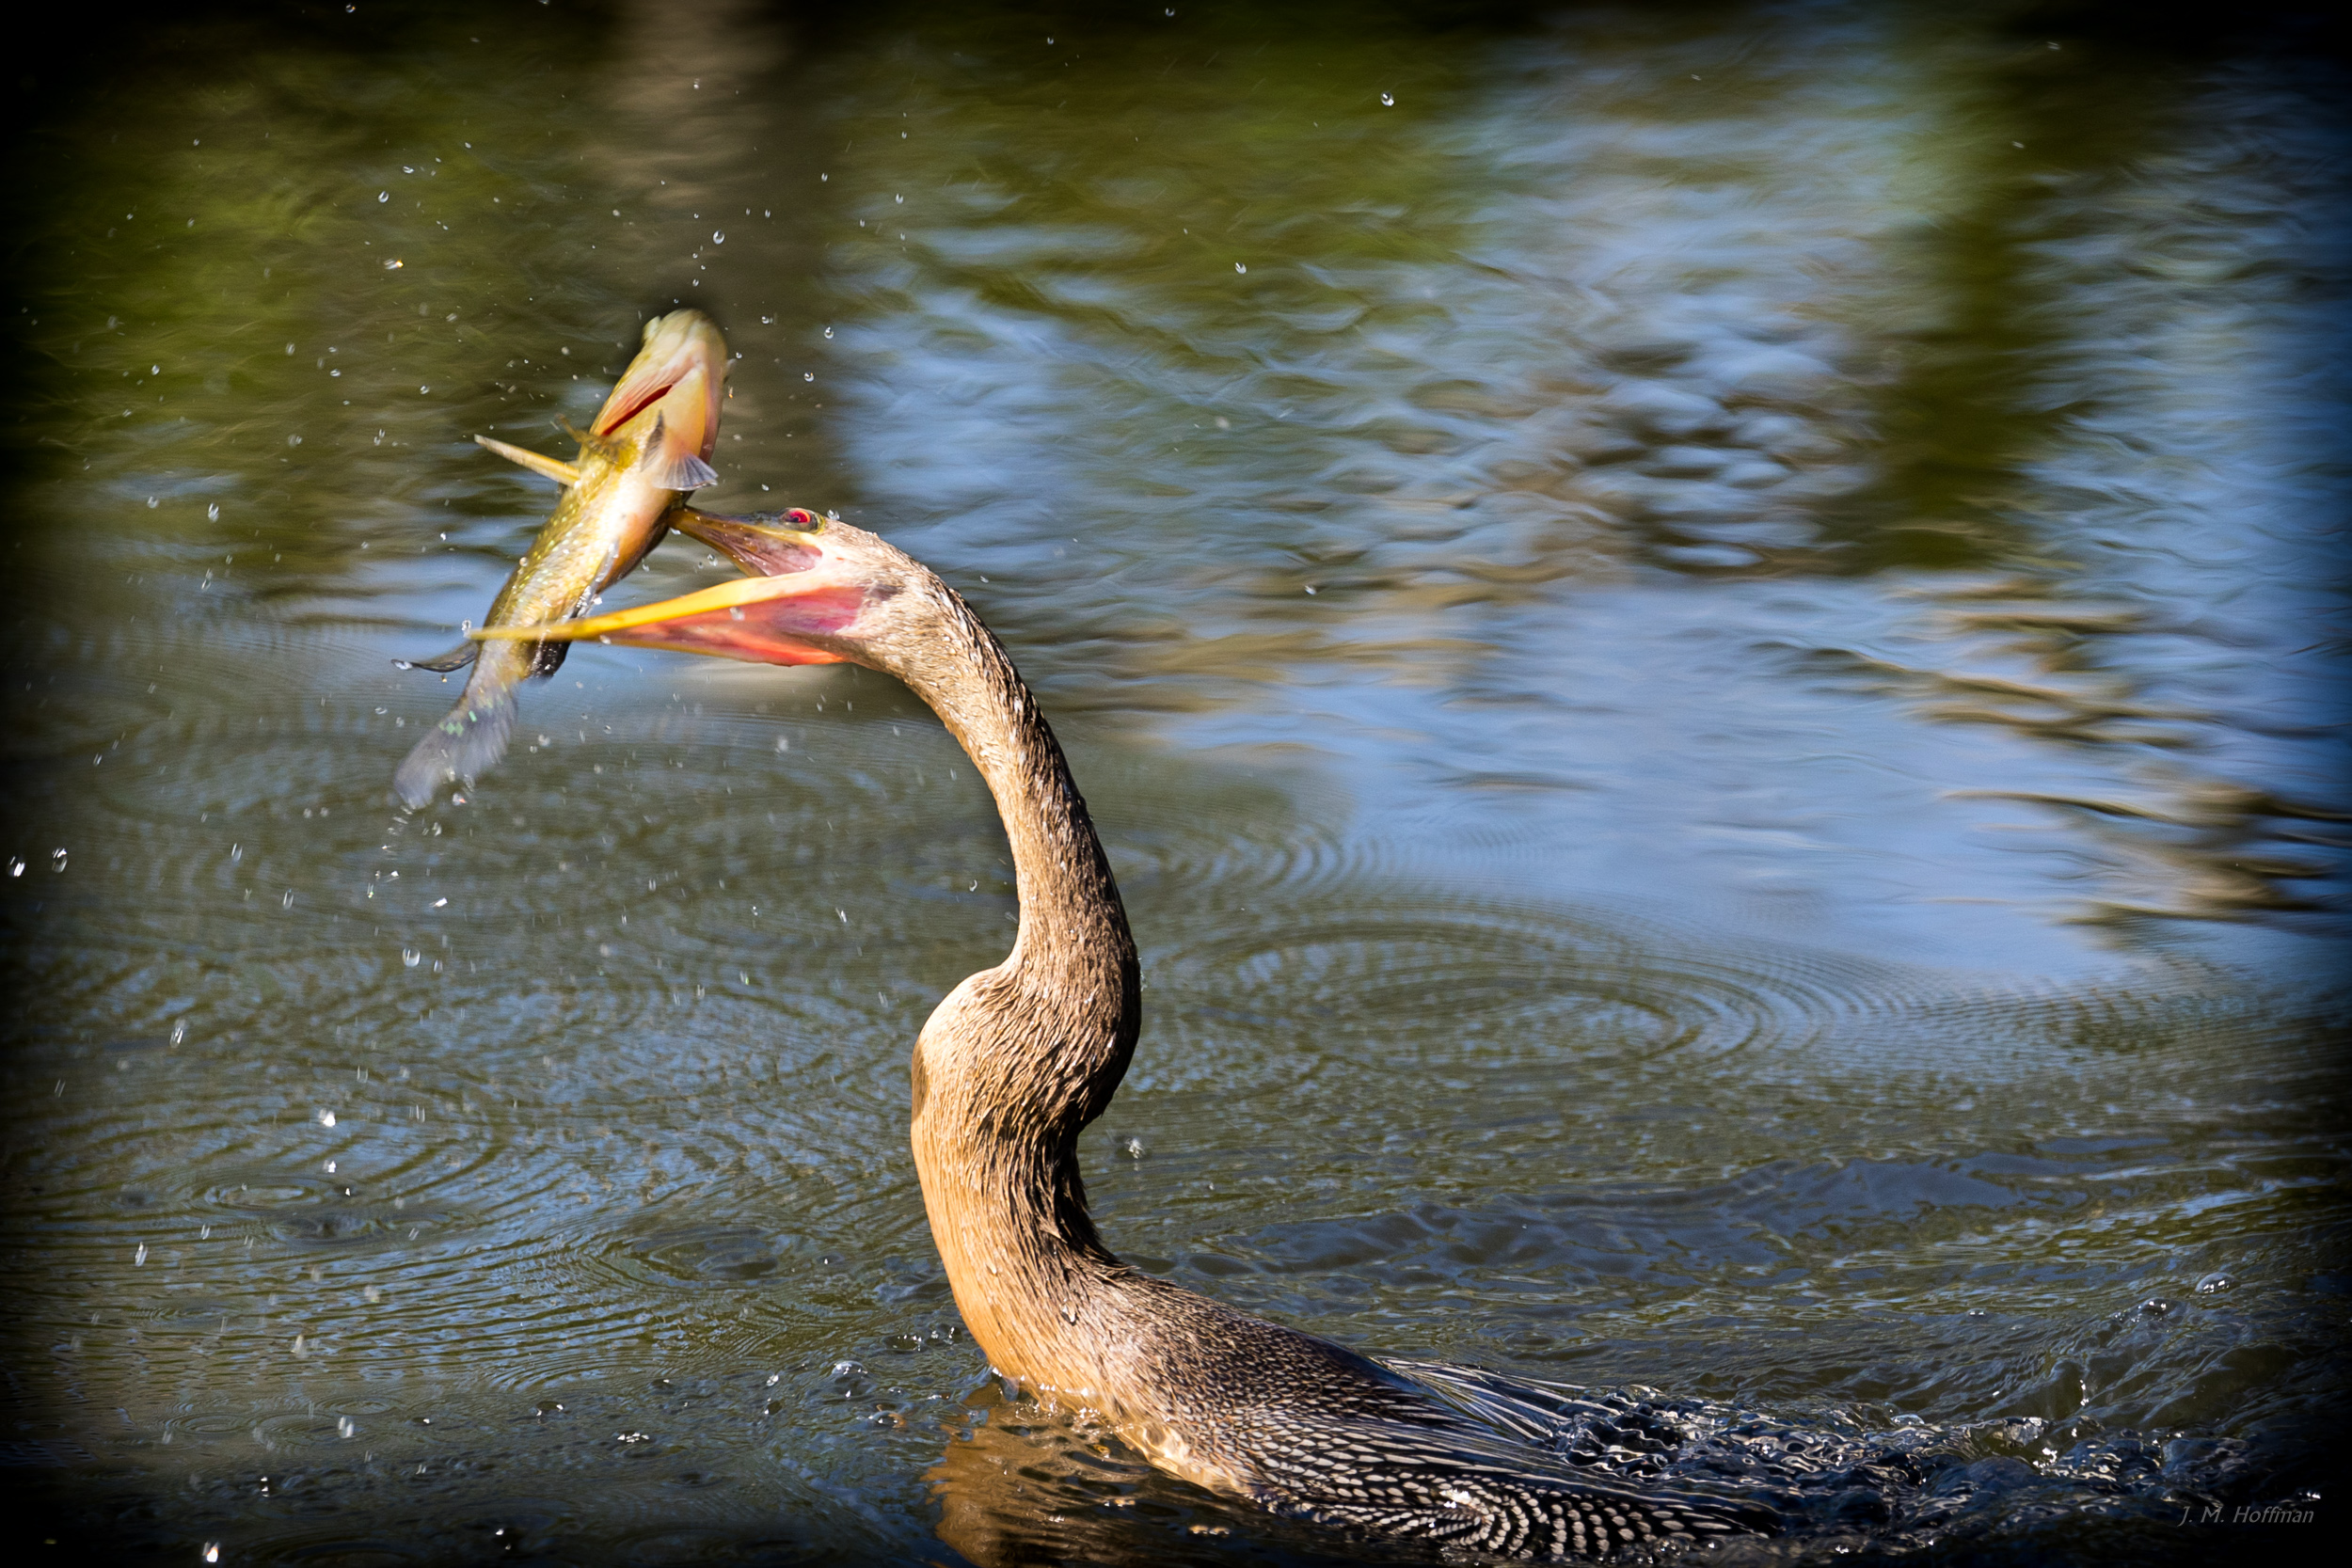
Here I managed to capture an anhinga actually flipping a fish in the air:

But it’s not a very good shot, because the background is so distracting. On the other hand, this view of the famed “snakebird” skewering its prey works much better, because the subject stands out so clearly:
If you have a fast lens and a large enough sensor, you can blur the background completely so that you don’t care what’s there. Or, as I did in this next shot, you can blur it a little so it augments the foreground without competing with it:
Tell A Story
As with other kinds of photography, the best wildlife photos tell a story, prompting viewers to contemplate what they see.
For instance, when I saw kangaroos fighting far off in the distance one morning in Australia, I managed to capture this:
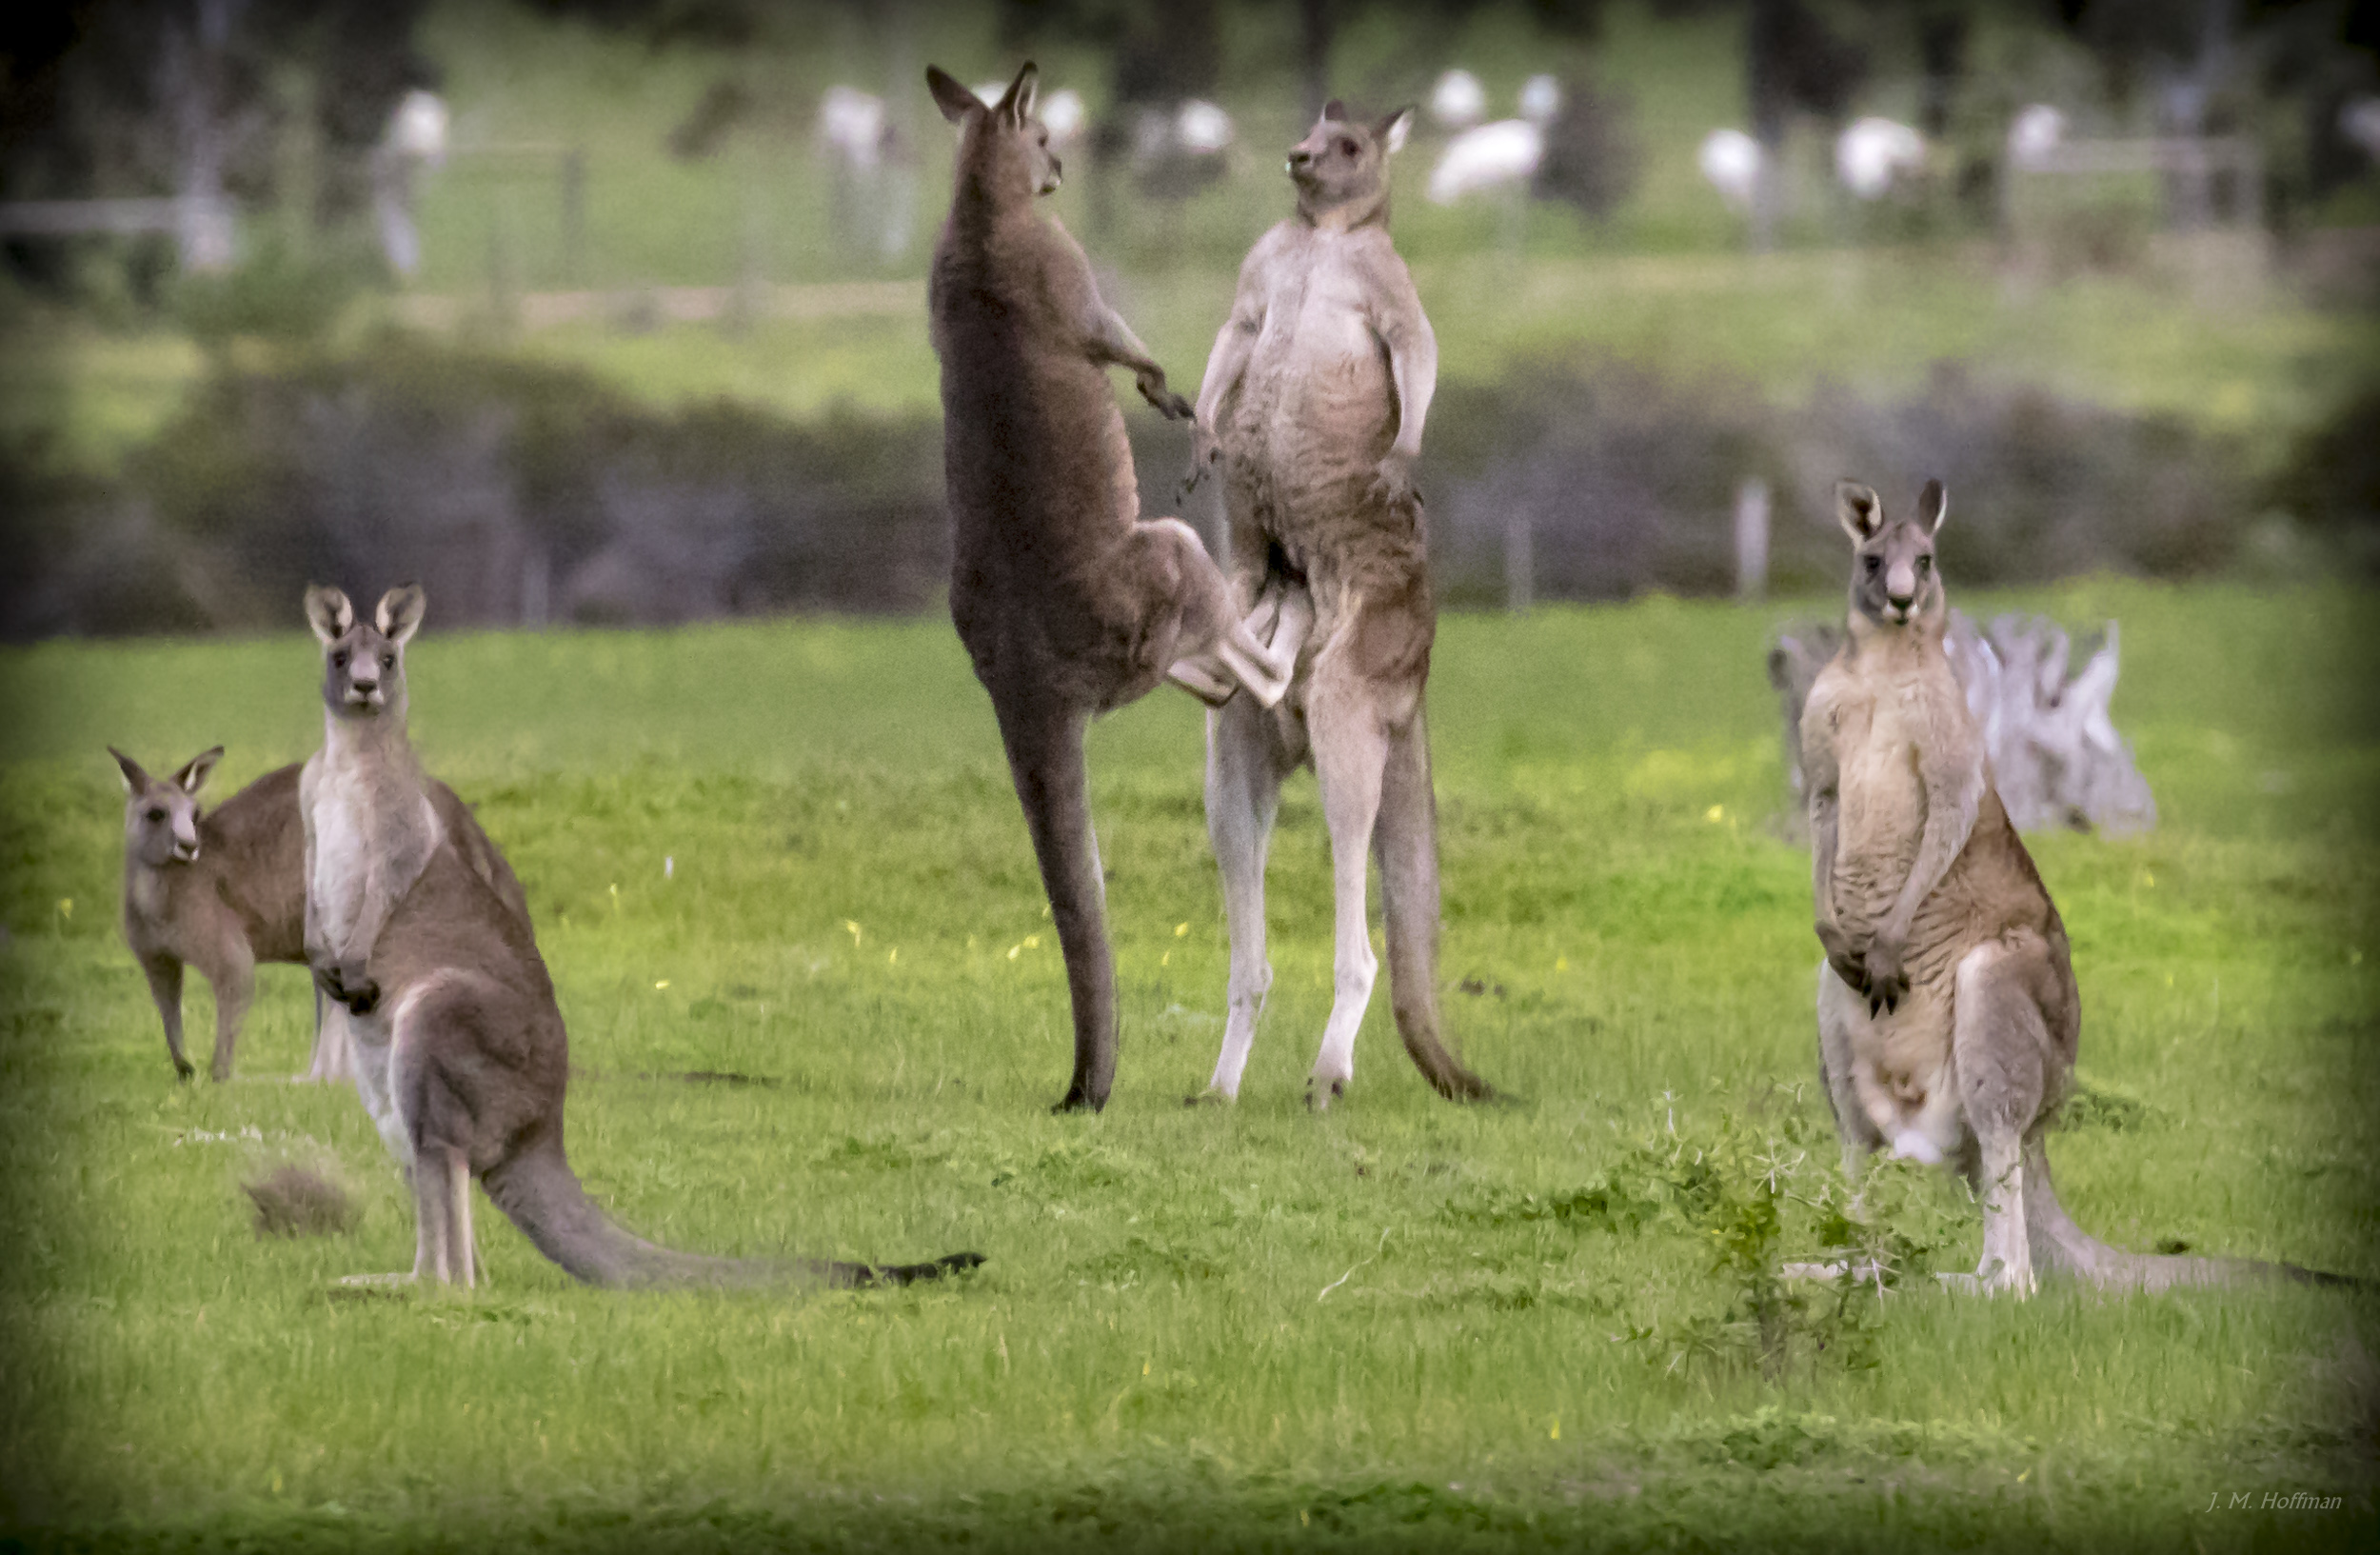
Technically the shot is pretty poor, but I still like it because of the narrative: I imagine the two ‘roos at the side telling everyone mafia-style, “Move along. Nothing to see here.”
Here’s another example — an early-morning shot of a limpkin from the Everglades:
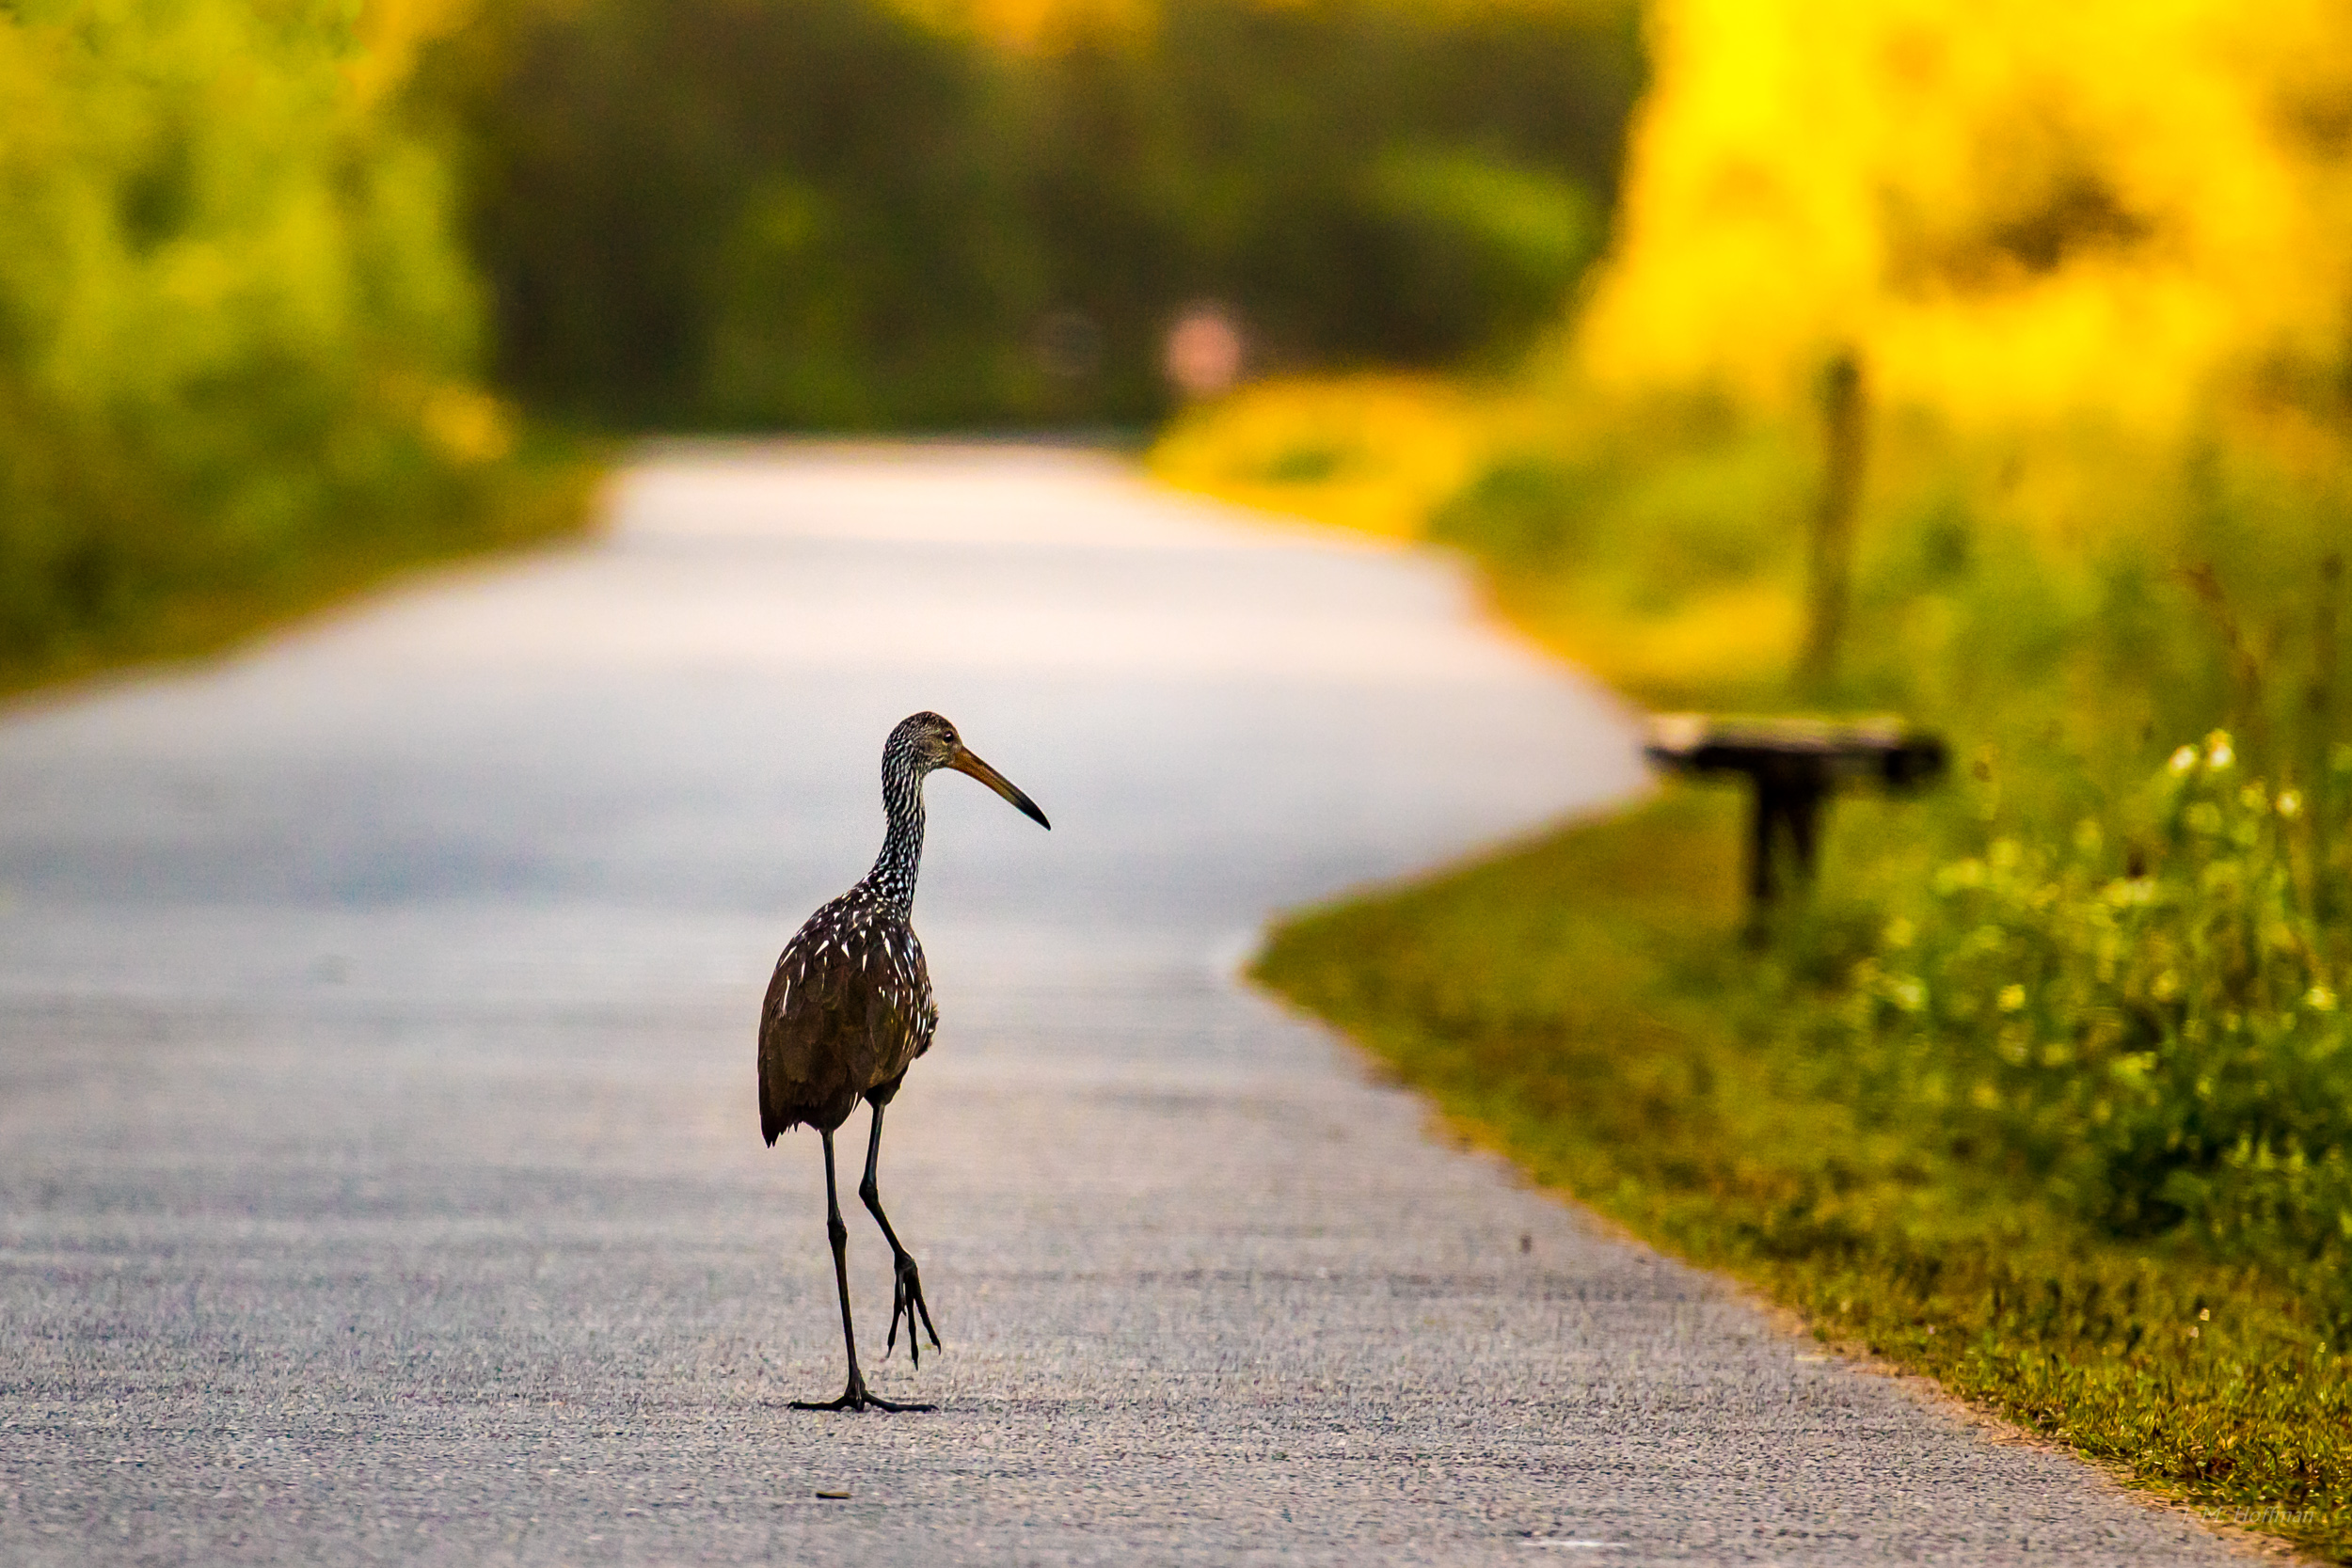
When you see wildlife, ask yourself what story it tells.
Vary Your Camera Settings
Wildlife photography is almost always a compromise. You usually want lots of light, for image quality; a long lens, to get close to the animals; and a fast shutter speed, to avoid blur. But long lenses let in less light, and so do high shutter speeds. You can’t have it all.
One trick is to keep your camera in shutter-priority mode. Take your first shots of an animal at a fast shutter speed, following up with lower and lower speeds if you have time. One of those low-shutter-speed shots might come out sharp. If it does, it will be better all around than the others.
For example, here I dropped the shutter speed to a relatively low 1/320sec (in spite of the effective focal length of 640mm):
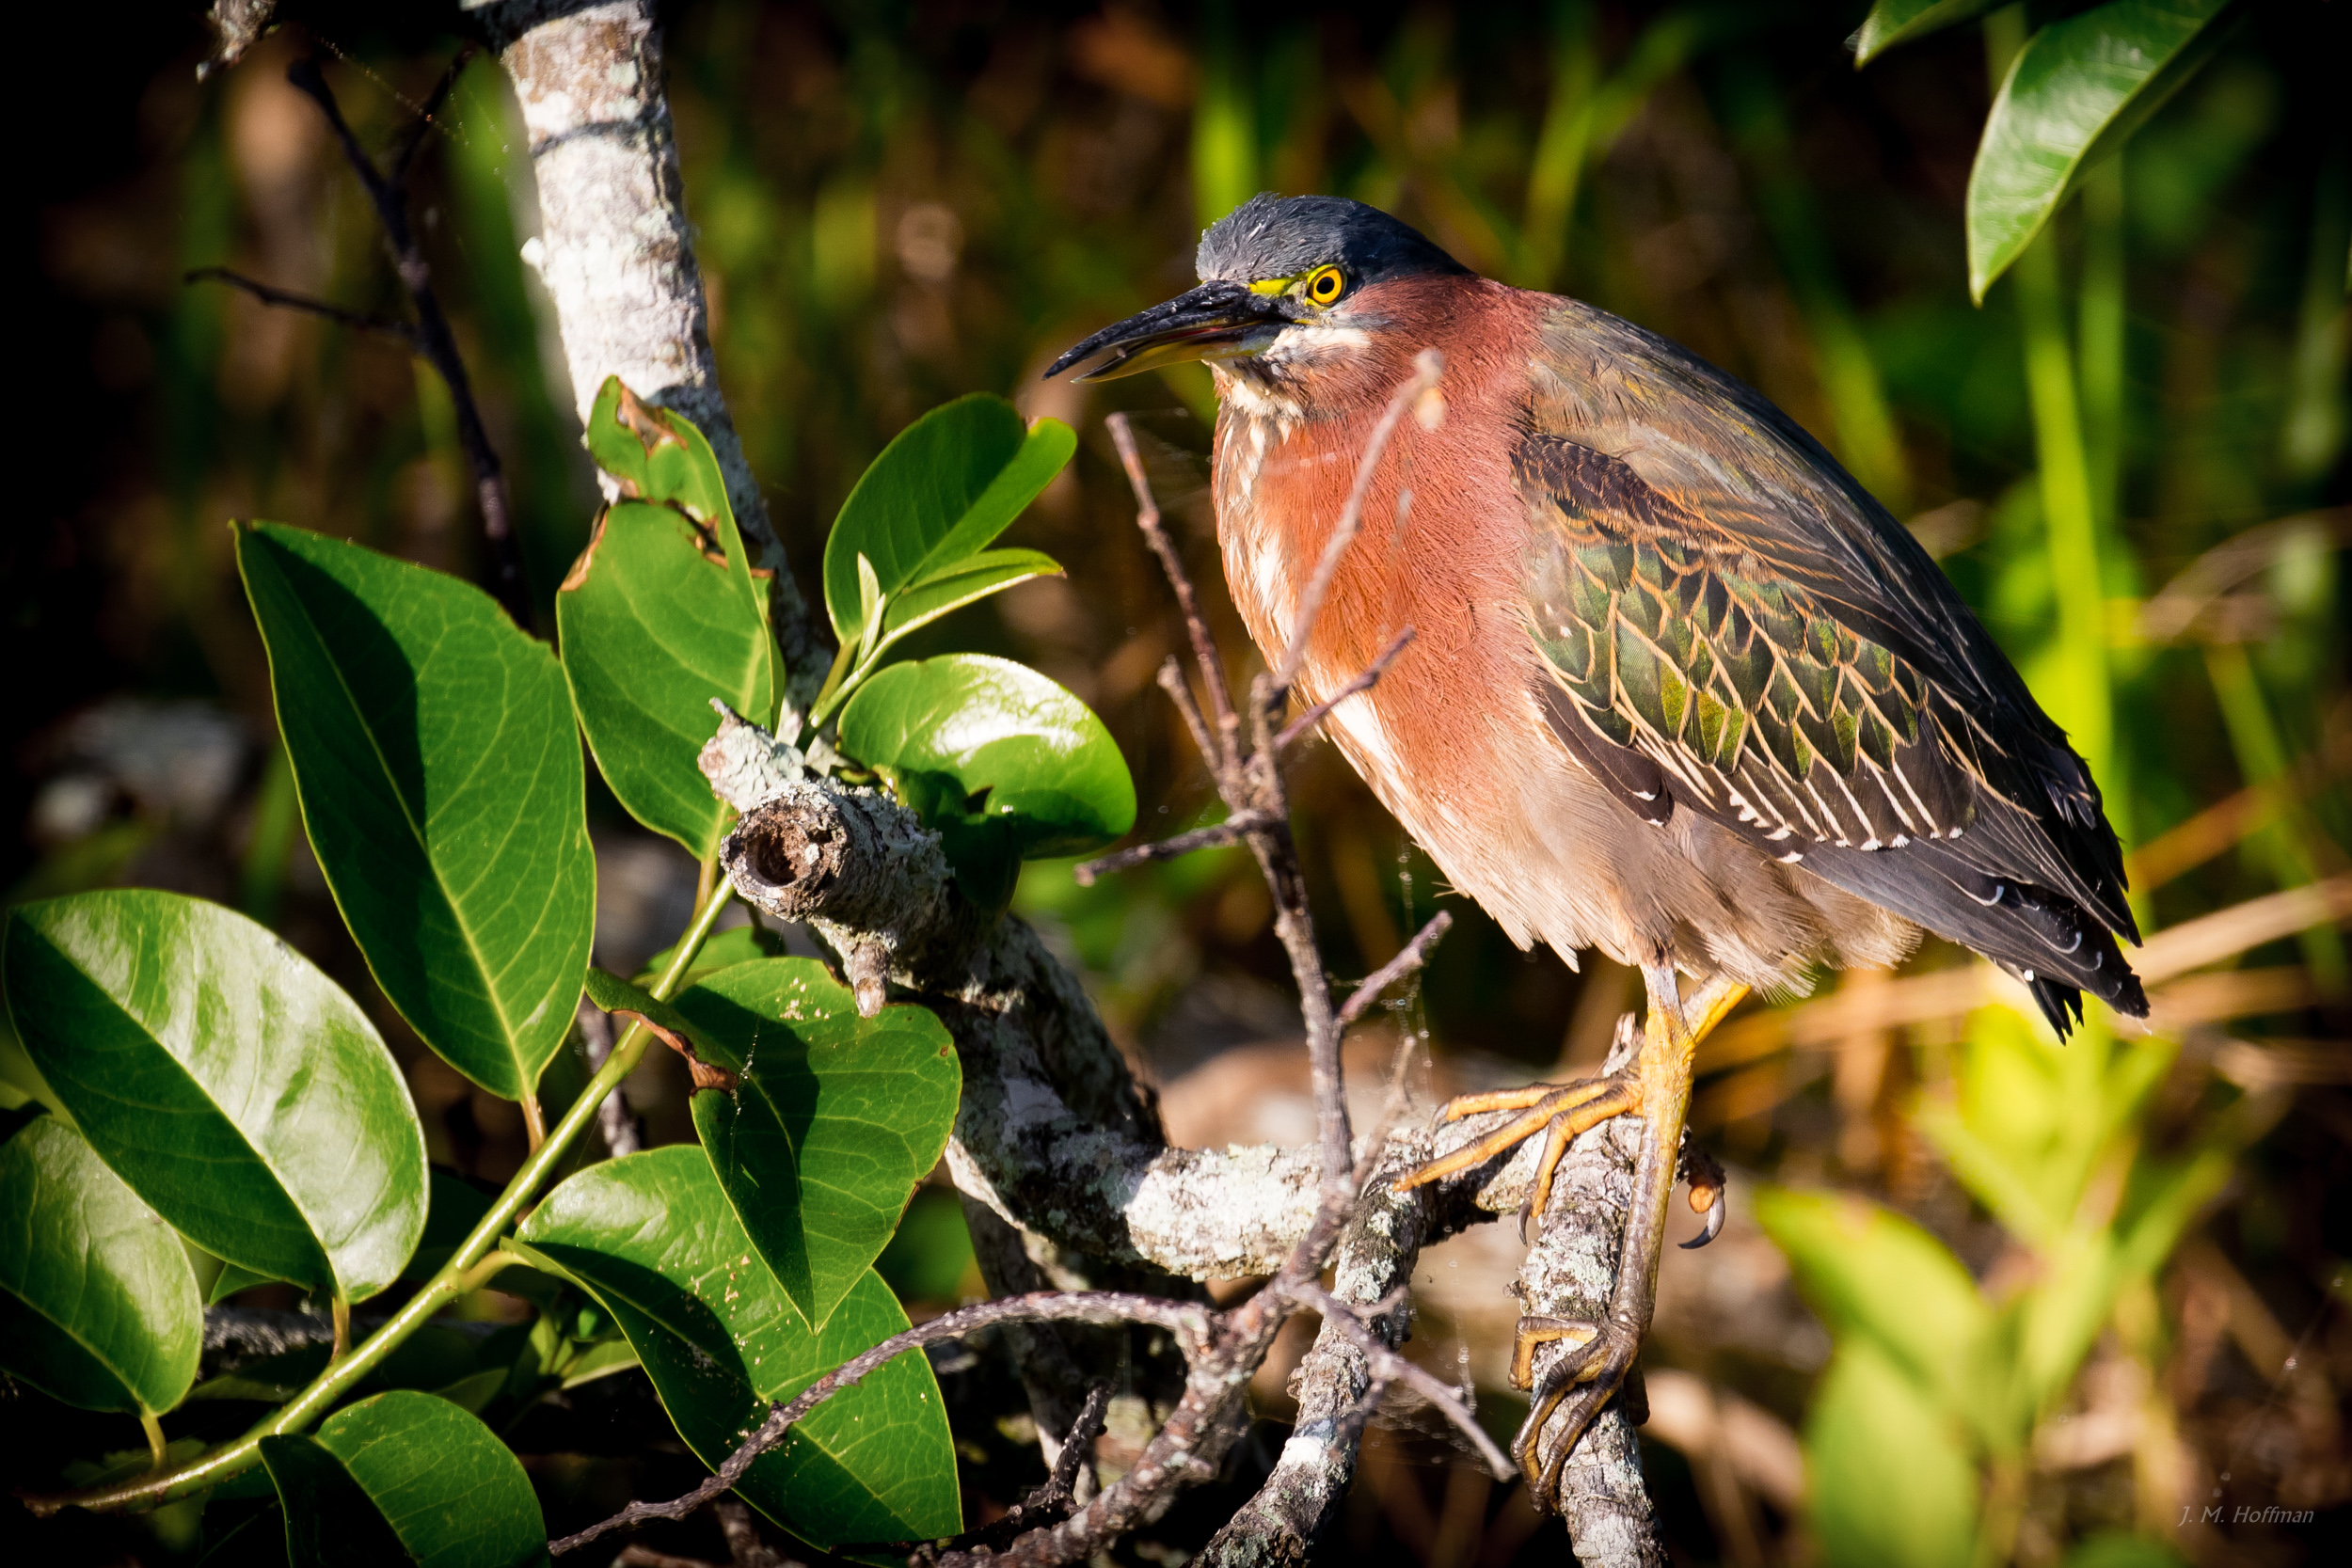
The lower shutter speed let me keep the ISO at 250, so I got a nice, clear, detailed shot.
And I shot the lion above at a shutter speed of 1/13sec, handheld.
Consider Your Equipment
While a phone is often good enough for general photography, with wildlife you usually want to zoom in closer than a phone will allow.
In essence, you have four ways to do this:
- Spend upwards of $10,000 on long-reach fast lenses that let in lots of light and create bright, sharp photos of things very far away. Throw in another few grand for a full-frame camera body.
- Spend about $3,500 for a crop-sensor camera body and sharp, moderately fast lens, like the Canon 7D Mark II with 100-400mm f/4.5-5.6 Mark II “L” lens or the Nikon D500 with 200-500mm f/5.6. As of May, 2018, the Nikon is the best option in this price range.
For a little more, the Nikon D850 outperforms both the Canon 7D Mark II and the Nikon D500. The D850 is a full-frame camera with as much detail in the middle as the crop bodies, so you get the best of both worlds. It’ll bring your total investment to just about $5,000, but if you can swing it, it’s worth it.
- Spend about $1,500 for a less sophisticated crop-sensor body with a less sharp lens, like a mid-range Canon or Nikon body with the $800ish Sigma 100-400mm lens. Again, you’ll need a second camera or lens for wider shots.
- Spend several hundred dollars for an all in one like the Nikon Coolpix P900 (read a review here) or Panasonic Lumix DMC-FZ1000.
Option (1) yields the highest quality images, of course, but don’t let that deter you. All four can give you excellent results. (Read more: “Can You Tell The Difference? Wildlife Cameras.”) In particular, option (2) is remarkable, and it’s probably what you’ll want to reach for if you’re serious about wildlife photography. And you’ll be pretty happy even with options (3) and (4).
[Updated from an original publication on J.M. Hoffman Photography from July, 2017.]
One thought on “Five Tips for Better Wildlife and Nature Photographs”